

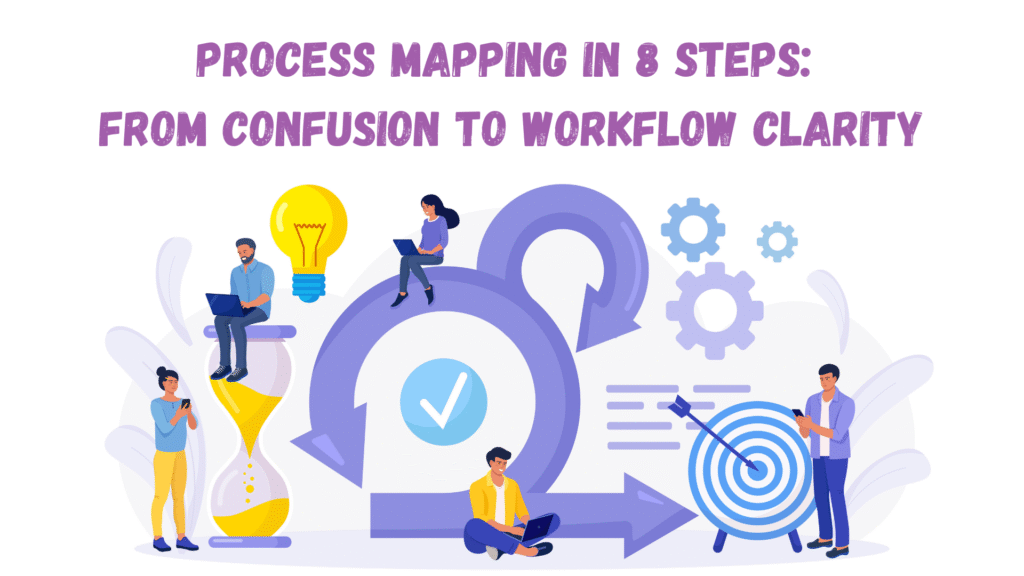

Process Mapping: 8 Steps to Workflow Clarity
Messy workflows often slow down businesses. Confusing processes cause delays, unclear roles, and wasted time. Employees redo tasks because they don’t know what’s already done.
The takeaway? Without a clear process, even small problems can grow quickly.
So, what’s the fix? It’s process mapping.
Process mapping gives a clear picture of how work flows. It shows where steps are repeated, skipped, or done out of order. This visual method helps teams remove waste, avoid mistakes, and speed up tasks.
Let’s walk through eight easy steps to bring order to your business using process mapping.
Step 1: Understand the Basics of Process Mapping
Process mapping shows how tasks are completed from start to finish. It helps teams see each step, understand roles, and improve how work is done.
Why it’s useful:
- It gives clear direction so everyone knows their job.
- It reduces mistakes and saves time.
- It helps new employees learn tasks quickly.
- It keeps work consistent across teams.
Types of Process Maps:
- Flowcharts: Show steps in a simple sequence.
- Swimlane Diagrams: Show who does what across different teams.
- Value Stream Maps: Focus on removing waste.
- BPMN Maps: Help map detailed and complex workflows.
Choose the type that fits your process best.
Step 2: Collect the Right Data
To improve a process, you first need to understand how it works today. That means collecting accurate data.
Ways to gather data:
- Watch the work: See how tasks are done in real time.
- Ask employees: Find out where they face delays.
- Use system reports: Check logs for time spent and errors.
- Send surveys: Ask staff or customers what’s not working.
What to measure:
- Time spent on each step
- Common errors
- Where work gets stuck
- How tasks are divided between people
Good data helps you fix real problems instead of guessing.
Step 3: Analyze the Workflow
Now that you have data, look at how work moves. Check where tasks slow down, repeat, or need too many approvals.
Common problems:
- Duplicate tasks: Waste time and add no value.
- Bottlenecks: Hold up the entire process.
- Confusion: No one knows who owns what.
- Manual steps: Could be faster with automation.
How to analyze a workflow:
- Draw out the current process.
- Highlight slow or repeating steps.
- Spot tasks that depend on others.
- Look for steps that software could improve.
This step helps you spot what needs fixing.
Step 4: Review What Adds Value
Not every step is useful. Use a value check to find and remove wasteful tasks.
Three types of tasks:
- Value-Added (VA): Directly help the customer or improve the product.
- Business Value-Added (BVA): Needed for rules or safety but not efficiency.
- Non-Value-Added (NVA): Don’t help and should be removed.
Questions to ask:
- Does this step help reach the goal?
- Can we remove it without hurting results?
- Could we automate it?
Removing non-essential steps helps save time and money.
Step 5: Create Strong Documentation
Once a process is improved, document it clearly. Good documentation keeps teams aligned.
Best practices for documenting:
- Use simple words—avoid technical jargon.
- Define who does what.
- Add charts or visuals.
- Use the same format for every process.
- Keep the document updated as things change.
To maintain quality:
- Train employees on the new process.
- Store documents where everyone can access them.
- Review documents often to ensure they stay relevant.
Clear documents keep everyone on the same page.
Step 6: Use Digital Tools
Digital tools make process mapping faster, clearer, and more collaborative. Here’s how they help:
- Diagram Creation: Teams can easily build flowcharts or maps that show each step in the process.
- Real-Time Collaboration: Everyone can work on the same diagram at once, whether they are in the office or remote.
- Change Tracking: Updates are saved automatically, and teams can review what’s been changed.
- Flexible Revisions: As business needs change, it’s easy to adjust processes quickly.
- Version Control: Everyone works from the most up-to-date version of a process, reducing errors and confusion.
Whether you’re managing a simple workflow or a complex system, digital tools make process improvement easier and more effective.
Step 7: Validate the Process
Before using a new process fully, test it first. Make sure it works as expected.
Steps to validate:
- Pilot test: Try the process with a small team.
- Get feedback: Ask users what works and what doesn’t.
- Check results: Compare new and old performance.
- Review customer response: Make sure satisfaction improves.
Testing helps you avoid mistakes before full rollout.
Step 8: Roll Out the New Process
Once testing is done, it’s time to put the new process in place.
Tips for smooth implementation:
- Teach your team the new way of working.
- Watch the results closely at first.
- Collect ongoing feedback.
- Tweak the process as your business grows.
Good rollout ensures your hard work turns into real results.
Final Thoughts
Process mapping is not just about making flowcharts. It’s about making work simpler, faster, and more reliable. By following these eight steps, your business can eliminate waste, speed up operations, and improve service.
Now is the perfect time to bring structure to your workflows—and success to your business.